As a beginner, it can be difficult to know where to start when deciding how to power your Arduino project. In particular, you may be unaware of what types of methods exist for powering an electronics project and the limitations of the Arduino to consider.
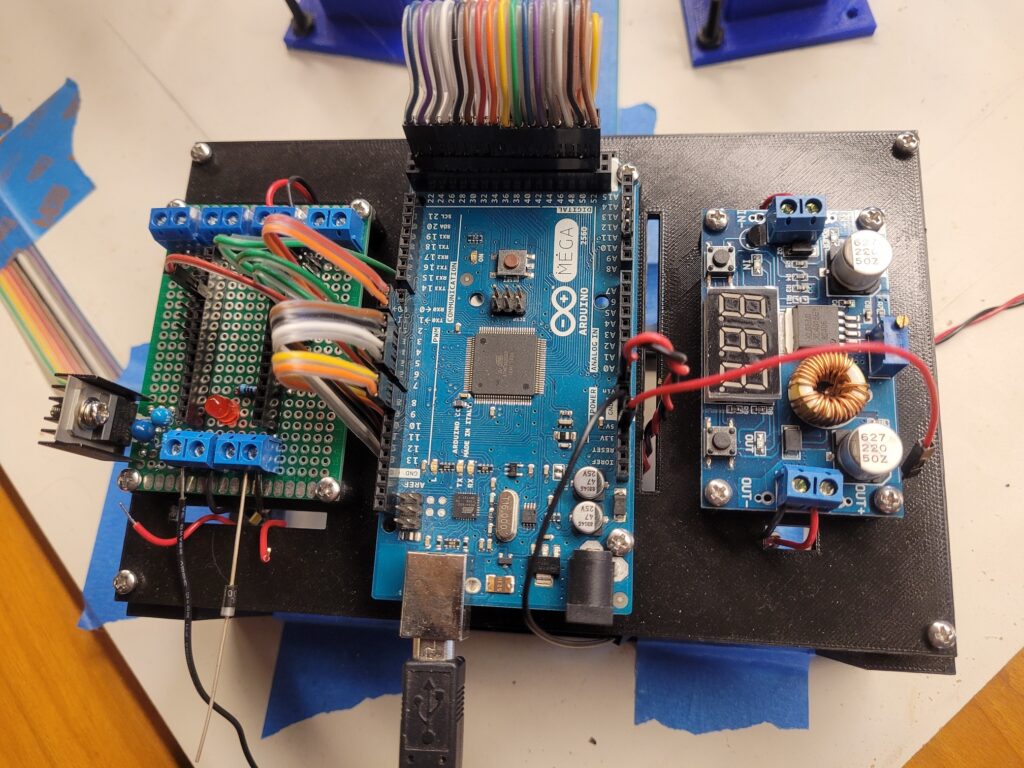
You can power your Arduino project with a 9 Volt, 1 Amp power adapter connected to the Arduino and an adjustable lab supply. More generally, you can use the Arduino’s internal power supply in conjunction with one or more external power supplies to power your Arduino project.
Various factors such as the current and voltage requirements of your project, how permanent you would like your project to be, and desired portability will affect what methods are best for supplying power to your project.
This article provides and introductory overview of the various methods to power your Arduino project, which consists of the Arduino itself, and various other low and high current components.
Overview of techniques for supplying power
The first step to determining how to power your Arduino project is to decide what requirements your project has. What are the different components of your project other than the Arduino itself and how much voltage and current does each component require? You will also need to determine how the Arduino itself will be powered.
For certain low current projects, the Arduino itself can supply enough power to the other components, but for many projects, you will need to find additional sources of power for high current components.
You will also need to decide whether you would like your project to have a temporary or permanent setup and whether or not it will be portable.
What are the different ways to power to my Arduino?
A standard Arduino Uno or Arduino Mega comes with several built in methods for supplying power to it. Here is a list of these methods:
- USB – you can power your Arduino with USB if it will use a small amount of current (< 500 milliamps). This option can also be good for projects that will be in constant communication with your computer such as a custom peripheral device.
- Barrel Jack Connector – This is a convenient way to supply an often power to an Arduino. You can connect an regulated AC adaptor supply or battery pack with a male barrel connector to this female barrel jack connector on the Arduino. For this method, you must confirm that the power source connected to the Arduino supplies a voltage between 7 and 12 volts and generally more than 1 amp of current.
- Vin Pin – This option is good for a setup in which your Arduino is permanently integrated into a larger project and will receive power from a supply that is also powering the other components of your project. This port can accept a range of voltages between 7 and 12 volts. To use this method, connect the positive side of a power supply to the Vin pin and the negative side to the ground (Gnd) pin on your Arduino.
- 5 Volt port – this option is the most difficult option to work with since it bypasses the internal voltage regulator on your Arduino. You must supply voltage very close to 5 volts to avoid damaging your Arduino.
For more information, see Powering Alternatives for Arduino Boards and What power supply can I use with my Arduino board?
How can I power components with my Arduino?
The Arduino has a built in capability to directly supply a small amount of power to low current components such as LEDs or small displays or small, low current motors. The Arduino has a few methods for supplying power:
| Output method | UNO Rev3 | Mega 2560 Rev3 |
|---|---|---|
| 5 Volt output pin | 1 Amp | 0.8 Amps |
| 3.3 Volt output pin | 150 milliamps | 50 milliamps |
| Configurable output pins | 20 milliamps | 20 milliamps |
The Arduino can only supply a recommended 20 milliamps of current per output pin and only up to a few hundred milliamps to 1 Amp of current in total at 5 volts.
Also note that the current output capability of the Arduino is limited by the method you are using to supply power to the Arduino. For example, powering your Arduino with USB will most likely limit the current capability to a few hundred milliamps.
For more information about these models of Arduino, refer to UNO R3 and Mega 2560 Rev3.
What ways are there to supply power to larger components of the project?
Now, you will need to decide how to power the various other components of your project. As mentioned in the previous section, the the Arduino can only supply small amounts of power. Therefore, if your project includes high current components that such as motors, actuators, electromagnets, bright LEDs or a large number of LEDs, you will generally need one or more external power supplies. There are various options for this:
- Adjustable AC to DC lab supply – good for a temporary prototyping lab setup. You could use one of these supplies as a main input supply or use several of these supplies, one set to 7.5 volts to power the Arduino through Vin, and one set to another voltage for other components of your project.
- Fixed AC to DC supply – good for a permanent or high power project that is constrained to a fixed location
- Batteries and a battery pack – This option is good if you want the project to be portable but, depending on the particular configuration of batteries it may not have the voltage or current capability for your project.
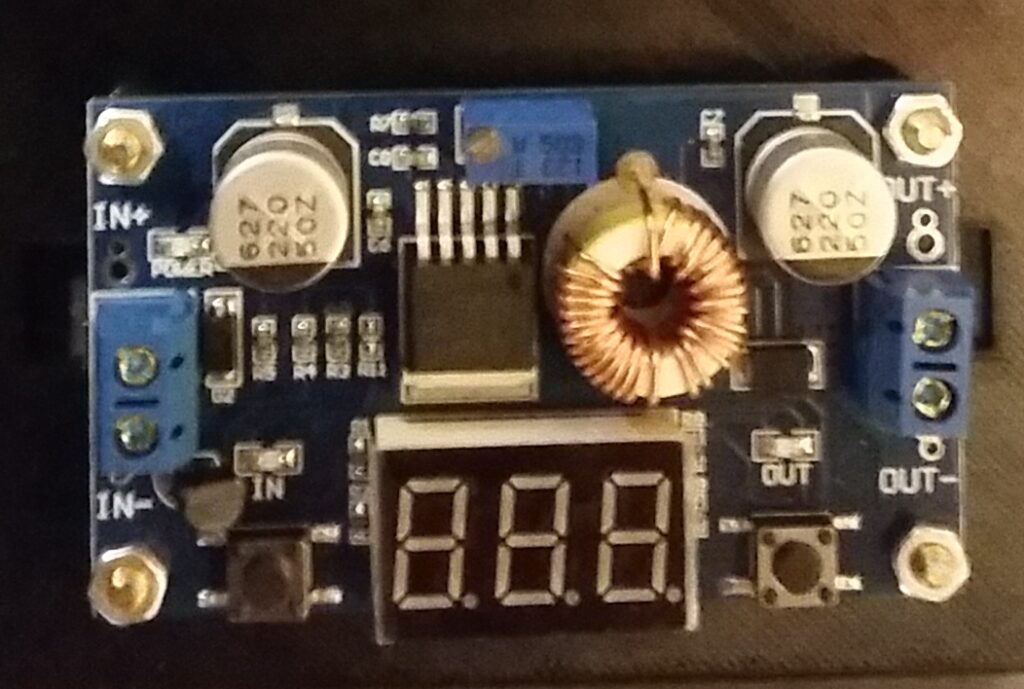
- Switching DC to DC supply – this option is good if you have a DC voltage either from batteries or an AC to DC supply and need to achieve a certain voltage for a certain portion of the project. For example, you could use a buck converter to step voltage down to approximately 7.5 volts and supply this as input to the Arduino. You could then use this 7.5 volts to also power other parts of the project, or use the main input supply with higher voltage to supply power to other parts of your project. You can use multiple DC to DC supplies, each set to a different output voltage, to support multiple project components that require different voltages.
- Voltage regulators – good for creating a stable output voltage that is lower than the input voltage. However, voltage regulators are not as efficient as switching DC to DC supplies and can easily overheat if not properly cooled.
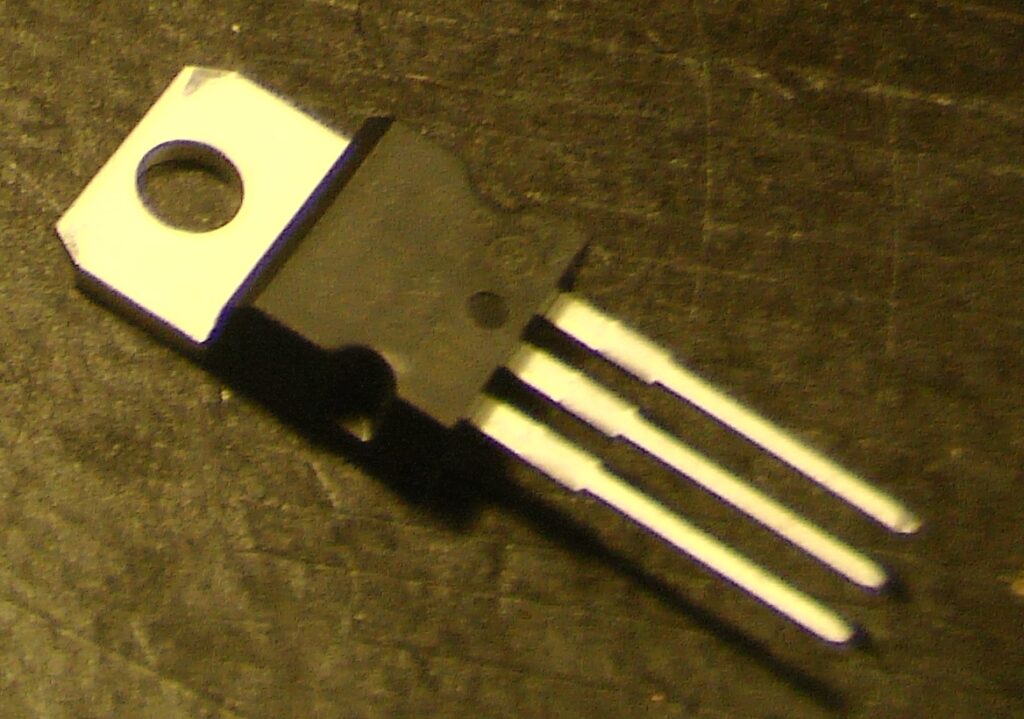
In your project you may have the Arduino directly powering low current devices such as LEDs. If every section of your project runs on 5 Volts, you could have a 9 Volt power supply that powers the Arduino through Vin for example. You could then also connect the 9 Volts supply through a voltage regulator to supply 5 Volts to the rest of your project.
Powering my Magnetic Accelerator Project
In my Magnetic Accelerator project, I chose to use a combination of an adjustable lab supply, a buck converter, and voltage regulators. Since this project requires different voltages to be delivered to different sections of the project, I needed a network of several supplies.
For this project, I wanted there to be one main power supply with an AC plug that could distribute power to all of the project’s components.
I’m using an adjustable lab supply, which accepts 120 Volts AC input to supply 24 volts to several different circuit boards. One of these boards consists of a buck converter, which steps voltage down to 7.5 volts to be supplied to the Vin pin on the Arduino. I chose to use the Vin pin to power the Arduino because I wanted the Arduino to be permanently integrated into the rest of the project and not require a separate AC input.
I have a separate voltage regulator that accepts the 7.5 volts and converts it to 5 volts for a sensor circuit board.
