During my years building DIY electronics projects, I have incrementally improved my storage and organizations methods. I periodically have new ideas for better storage and insights for strategies to organize my components and improve my efficiency as a maker and hobbyist.
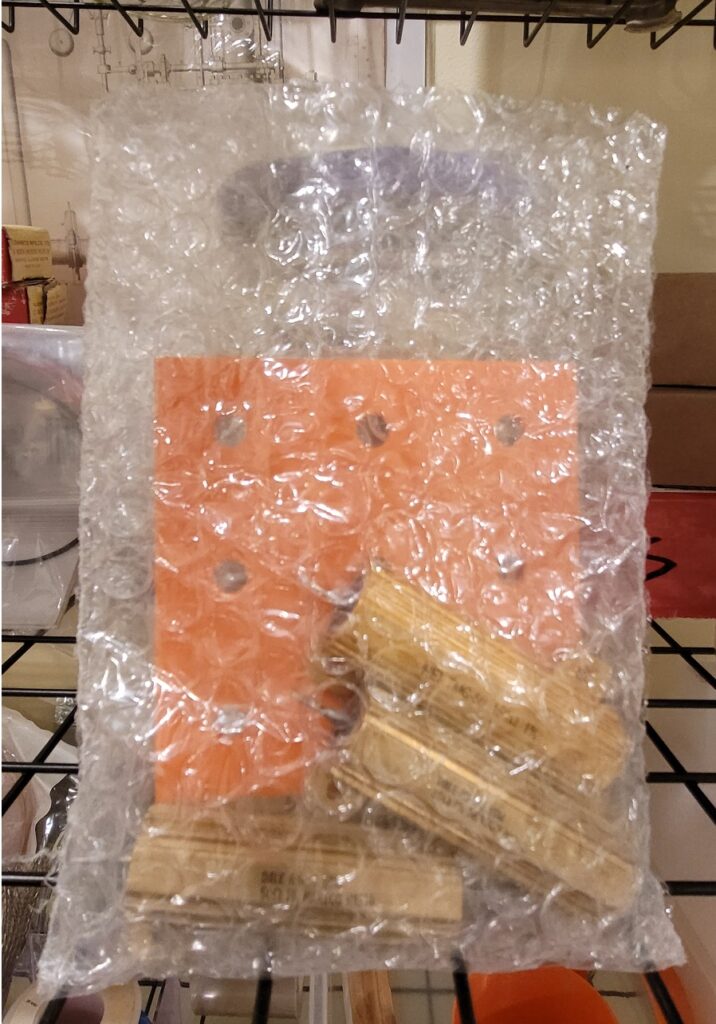
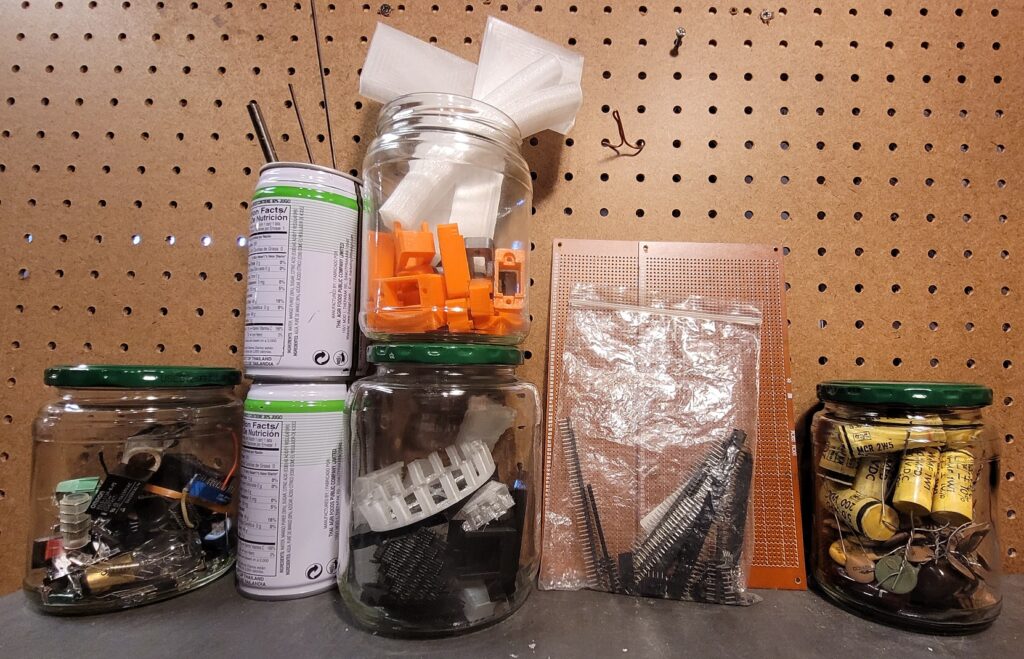
To store spare parts at home at low cost, you can repurpose or reuse recyclables such as glass jars, cans, egg cartons, and small cardboard boxes. You can also reuse plastic bags or bubble wrap bags for non ESD sensitive components.
When choosing storage solutions for your components and parts, there are several factors to consider such as the following:
- Cost of storage: This post emphasizes low cost storage solutions by means of repurposing and reuse.
- Difficulty of preparing a custom storage solution: How simple is it to obtain and prepare the storage methods?
- Aesthetics to improve the atmosphere of your work area and potentially provide inspiration: Your work environment can have a significant effect on your level of creativity. The appearance of your work area such as what parts are readily visible can have an effect on your creativity and potentially provide inspiration for future projects.
- Organizational efficiency of storage: Your work environment can have a significant effect on your level of efficiency, and, if designed methodically, can enable easily locating and accessing parts when needed.
- Space Efficiency of storage: Does the storage solution store enough spare parts in a given volume of space?
- Environmental factors and ESD sensitivity and protection: Factors such as temperature and humidity of the storage area can affect stored components. ESD sensitive components such as ICs and transistors should be stored in special ESD safe bags, foam, or containers. Note that this topic is more advanced and is often not essential for beginner or novice level hobbyists.
The following sections introduce and discuss various low cost methods for storing parts. The sections includes instructions as needed to repurpose and reuse containers that can be commonly found at home.
Glass Jars
You can find glass jars containing pickles, peanut butter, and other food items. Using recyclable glass jars from food items is one of my favorite methods for storing parts at home for low cost. A glass jar is very strong and durable. It is also a great and elegant way to put spare parts on display in your work area, since it is clear and shiny. I find that parts being easily accessible and visible can improve my efficiency and creativity while working on my projects. I’ll often take a look at the following jars and wonder, what can I build with pully wheels, bearings, relays, and/or contact switches?
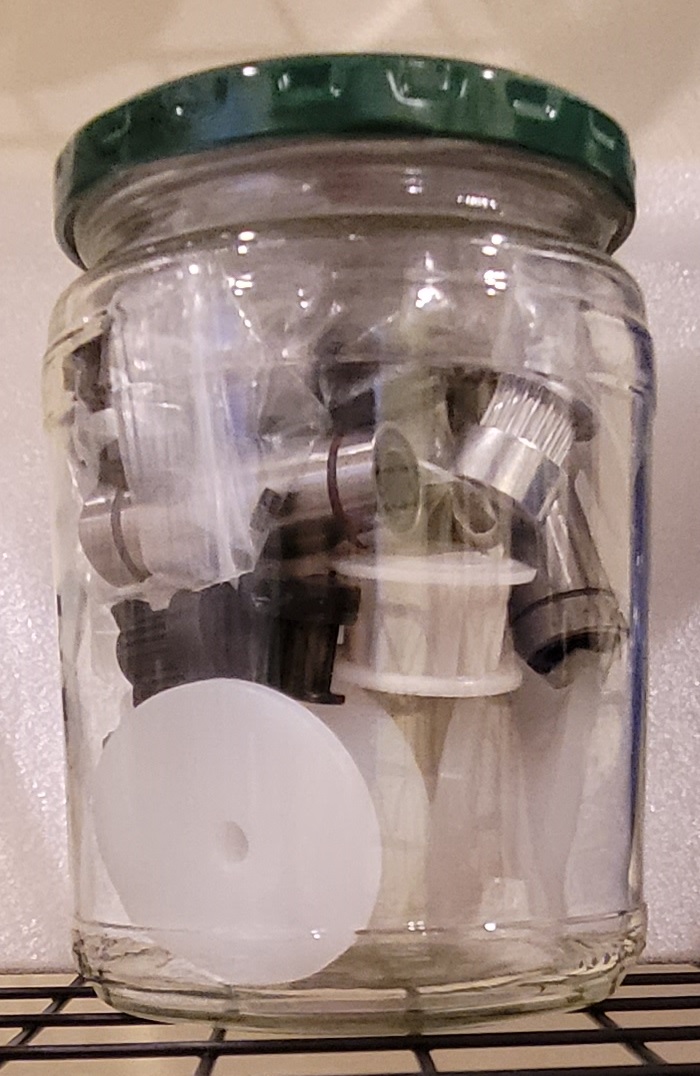
pully wheels, timing pulleys, and bearings
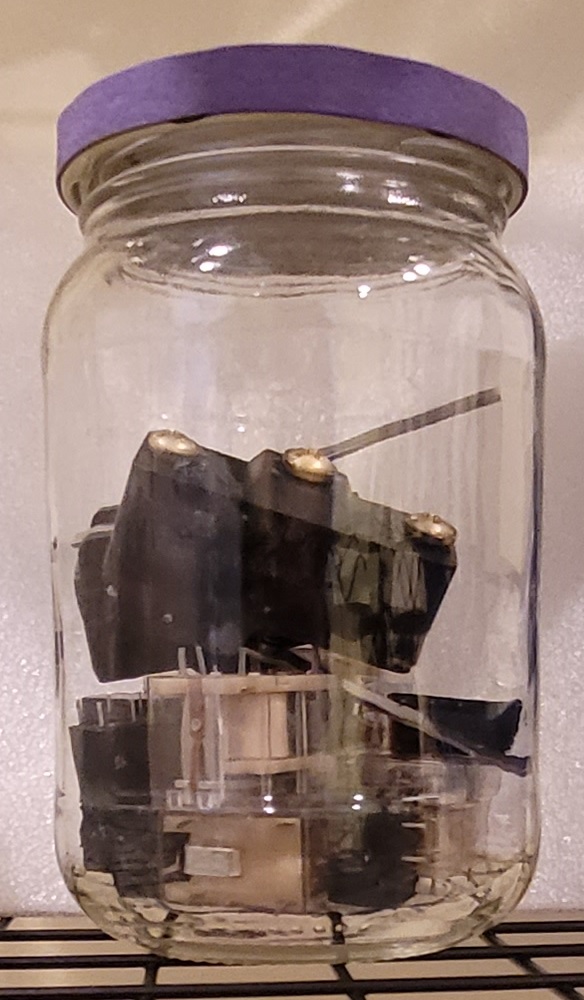
contact switches and relays
Before using a glass jar that contained a food item, you will need to clean it out. Most, if not all glass jars that come with food items have a label on them. Therefore, you will also need to remove the label if you do not want irrelevant information displayed in the way of your parts in the jar. To remove any course food particles and liquids, I generally rinse the jar with hot water several times. To remove the label from the jar, I have generally used two methods:
Scraper method
Use a scraper to slowly peel off the label:
- Slide the scraper along the glass, titled up from the glass at approximately 30 degrees from the surface and slide the scraper slightly under the label. You will most likely need to then move the scraper under nearby locations to pull up adjacent parts of the label. I find it to also be helpful to slide the scraper under corners, since this makes it easy to access a small part of the label at once. Most likely, you will need to slowly scrape up the entire label, but for some labels, you may be able to just grab a small part that has been lifted from the jar and peel off the remainder of the label by hand.
- After the label is removed, use isopropyl alcohol to clean away any residue from the glue of the label.
Boiling water method
Another method, which I discovered more recently, is to use boiling water to remove the label. This method usually enables you to more easily remove the label and all residue with less effort, but it can take longer than the scraper method:
- Remove the lid from the jar.
- Find a metal or ceramic container large enough to fit the jar and lid. The container should at least be tall enough to reach the top of the label of the jar and wide enough to fit both the jar standing upright and the lid next to it.
- Place the jar standing up in the container and lid next to the jar in the container.
- Boil enough water to fill the container or at least be able to fill the jar and reach the top of the label when poured into the container.
- Poor the boiling water into the jar and continue pouring as the boiling water spills over the lip of the jar into the container. Continue pouring until you submerge the jar up to the top of its label in boiling water, or until you nearly reach the top of the container.
- Let the setup sit until the water cools down to nearly room temperature.
- Pull the jar out of the container.
- The label will most likely be soggy and will easily detach from the jar. Peel off the label and discard it.
- Use isopropyl alcohol and/or soap and water to do a final fine cleaning of any remaining dust or residue.
Clear Plastic Bottles
Clear plastic bottles can generally be found holding juice or soda. They are far less durable than glass jars but often have the advantage that they can be easily cut to a desired size. To prepare the plastics bottle for storage use, you will need to clean it of any remaining food or beverage. You will also need to remove the label if you do not want irrelevant information displayed in the way of your parts. I find that the labels on plastic bottles are generally easier to remove than labels on glass jars. For plastic bottles, the label is usually attached to the bottle in only a few narrow places. To prepare the plastic bottle, follow these steps:
- Remove the lid from the bottle.
- To remove any course food particles and liquids, rinse the bottle with hot water several times. You may also need to use a sponge or paper towel for more persistent foods such as peanut butter.
- Fill the plastic bottle with hot water and wait about one minute.
- At this point, depending on the type of bottle, you may be able to find a corner of the label and it peel off by hand. In the case of many juice or soda bottles, the label is only glued to the bottle on the ends.
- Use isopropyl alcohol on a paper towel to remove the remaining residue.
- If desired, use a utility knife and/or scissors to cut the narrow top off the bottle for a wider opening.
Cans
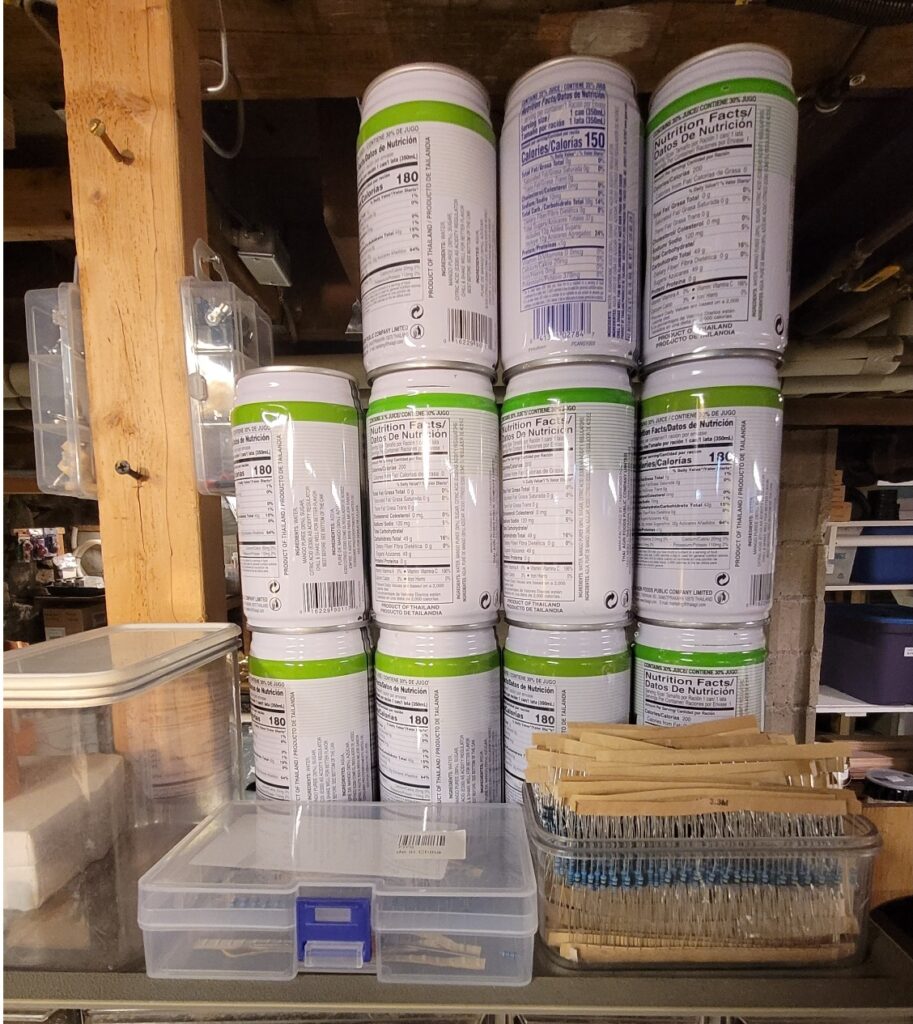
You can find metal cans often containing soda or sometimes juice. Many metal cans are easy to deform, but some are much more rigid. I find these to be useful for storing small parts or small sharp objects such as nails or screws, or for disposing of small or hot metal pieces such as bits of solder, desoldering wick, or a broken solder tip.
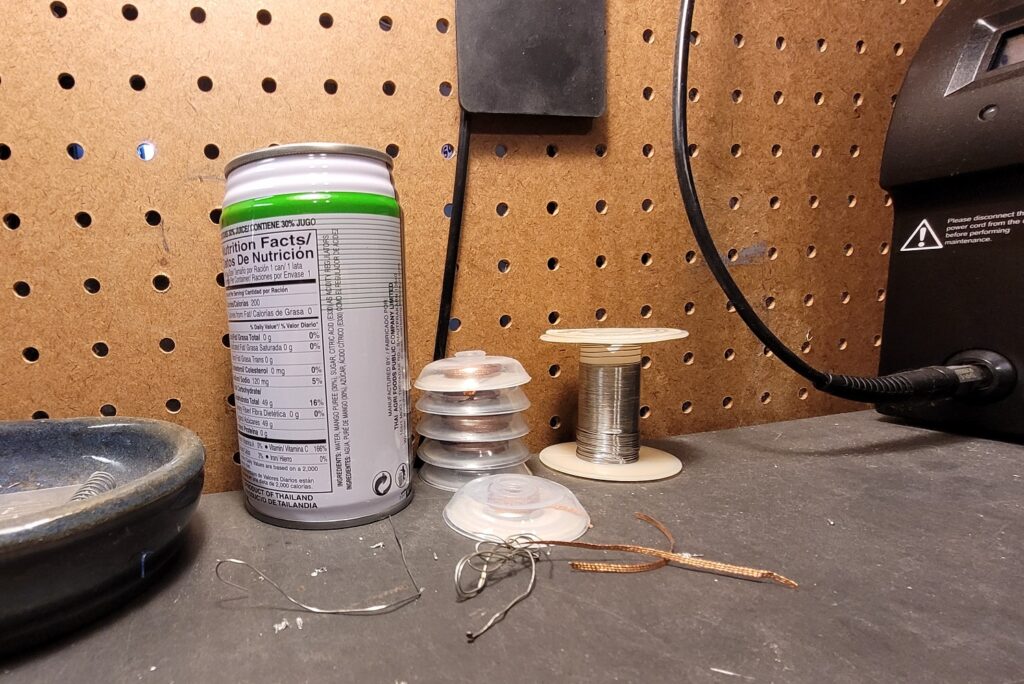
To prepare the can for use, you first need to remove the top. A can opener is often used for soup cans or cans of ingredients that one does not drink from, but you can also usually use a can opener to remove the top of a beverage can. Next, you need to clean out the can. Rinse the can with hot water and then clean it with a sponge, soap, and water. Sometimes you will need to do this several times to remove residue.
The can does not have a lid like the glass jar. However, most cans provide the advantage of being stackable. Cans are therefore able to provide a grid of low cost storage for your parts.
Packing Foam
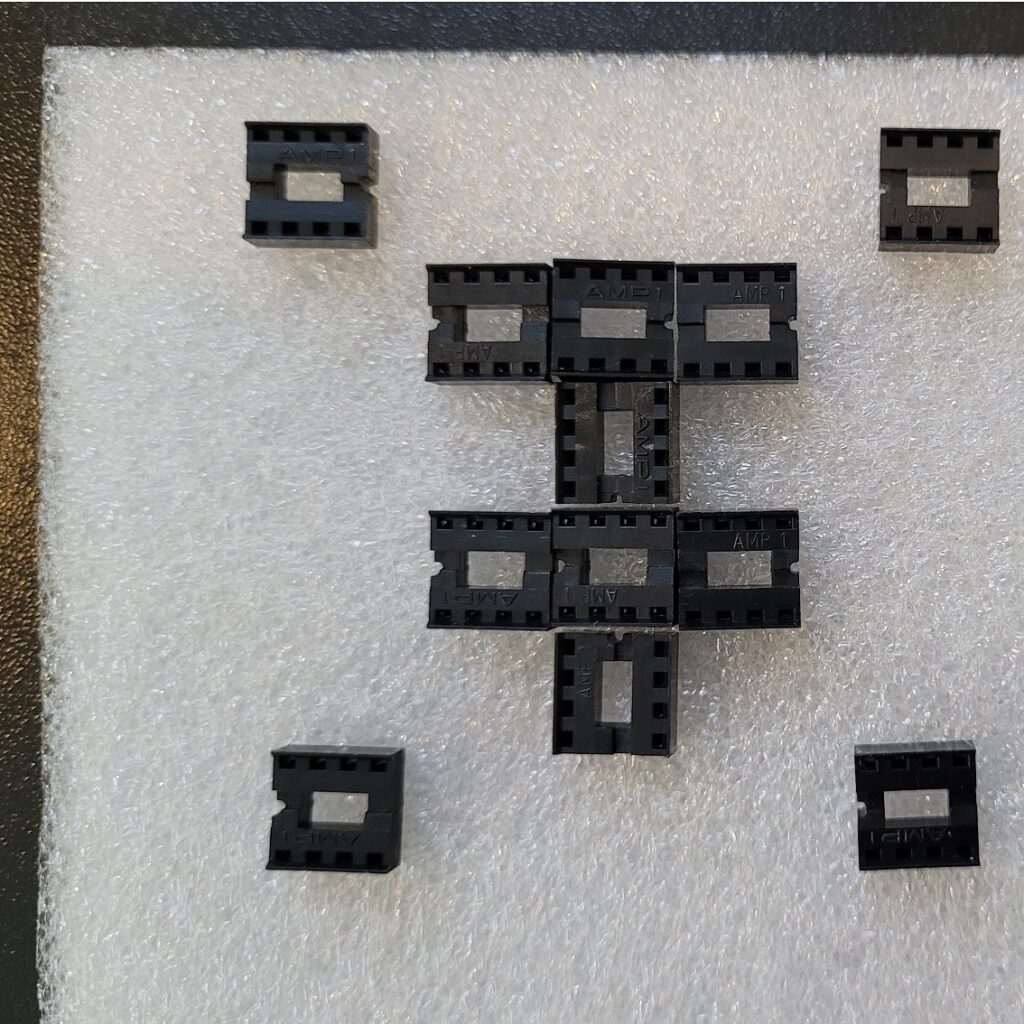
You can find foam in packaging for many items. In some of these items, the foam will be in flat, rectangular sheets approximately one centimeter in thickness, and this is can be great for storing parts or components with thin legs or pins. Note, however, that standard foam is not designed for ESD sensitive devices such as integrated circuits or transistors.
Egg Cartons
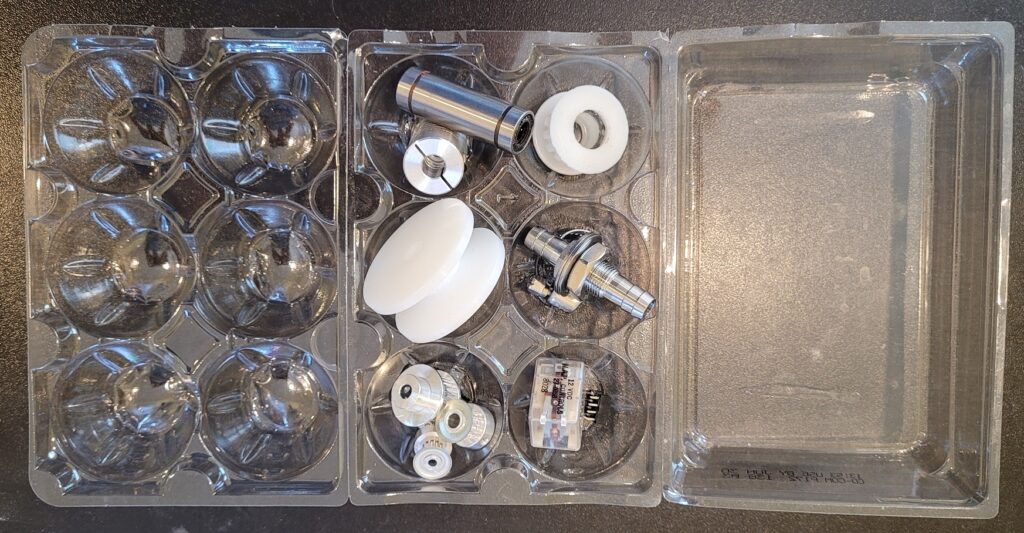
Egg cartons are usually found in paper form, but also come as clear plastic. They provide a grid of round compartments and are not a particularly space efficient storage method but do provide an a convenient way to store or display a select few parts. For example, you could use an egg carton to store commonly used parts or as a way to prepare special storage for your next or current project. You could also use an egg carton to put small creations such as 3D printed items on display in your work area.
Plastic egg cartons can be good for storing small mechanical parts such as small screws, washers, nails, and bearings or non ESD sensitive electrical components.
Paper egg cartons have the advantages that they are easier to cut to a certain grid size and are better (although not ideal) for storing ESD sensitive devices.
Small Cardboard or Paper Boxes
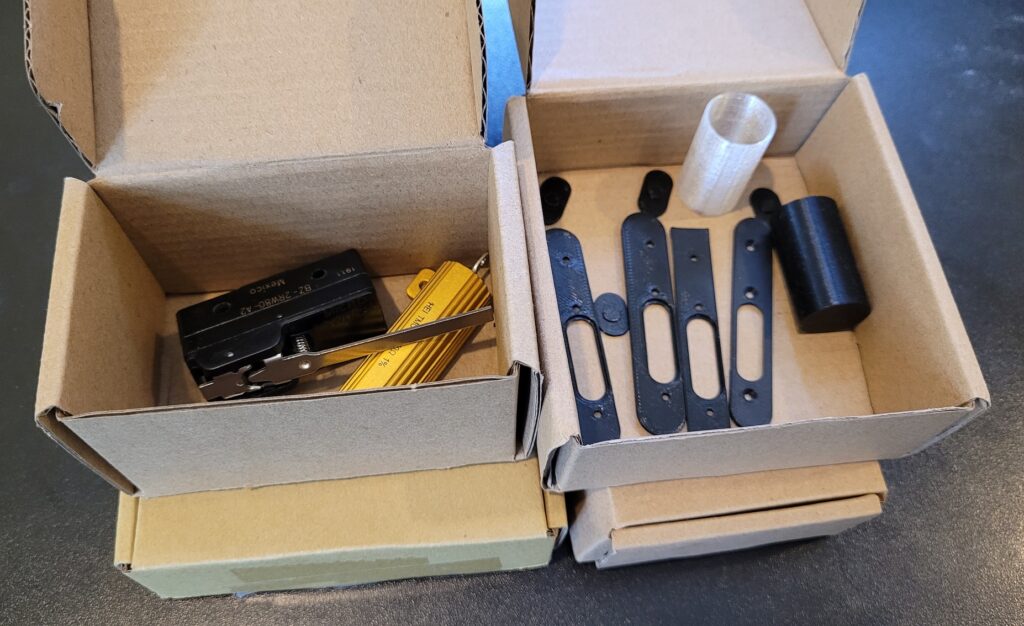
You can find small carboard boxes containing certain DIY kits or other small household items. The cardboard boxes often come either as thick brown cardboard boxes or thin paper boxes (Arduino for example). After building the kit, the instructions or a few spare parts are often all that remains. I store the instructions in a common “Documentation” box, and this frees up the box that it came in to help store and organize other parts.
Small Plastic Bags
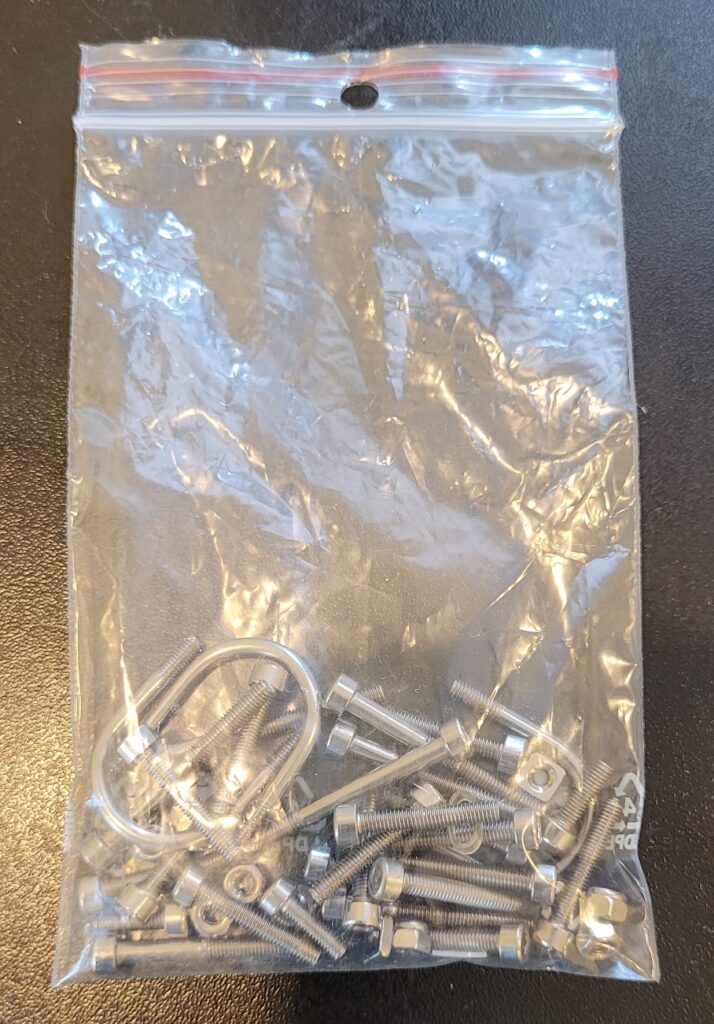
You can often find small plastic bags in hobby or maker kits containing non ESD sensitive electrical or mechanical parts. When I use up the parts that come in a small plastic bag and if the bag is of high quality (no deformities in the plastic and a good zip lock), I consider saving the bag to further organize my parts collection.
Bubble Wrap Bags
You can sometimes find clear plastic bubble wrap bags containing delicate items within purchased household items or even within hobby project kits. You can also find opaque bubble wrap bags containing items orders from online retailers such as Amazon. You can use the bubble wrap bags to store mechanical parts or non ESD sensitive electrical parts. In particular, you could use a bubble wrap bag to store delicate parts such as some 3D printed parts, mechanical parts, ceramic parts like ceramic power resistors or high voltage insulators, or tiles, which I sometimes use to temporarily support and test electrical components that can get very hot.
